

Shoe Sketches That Explain Form and Construction
Compare sneaker, heel, boot, sandal, loafer, and trail-shoe sketches from quick thumbnails to developed presentations. Study side, front, back, and perspective views, then download an image free or create your own with AI.
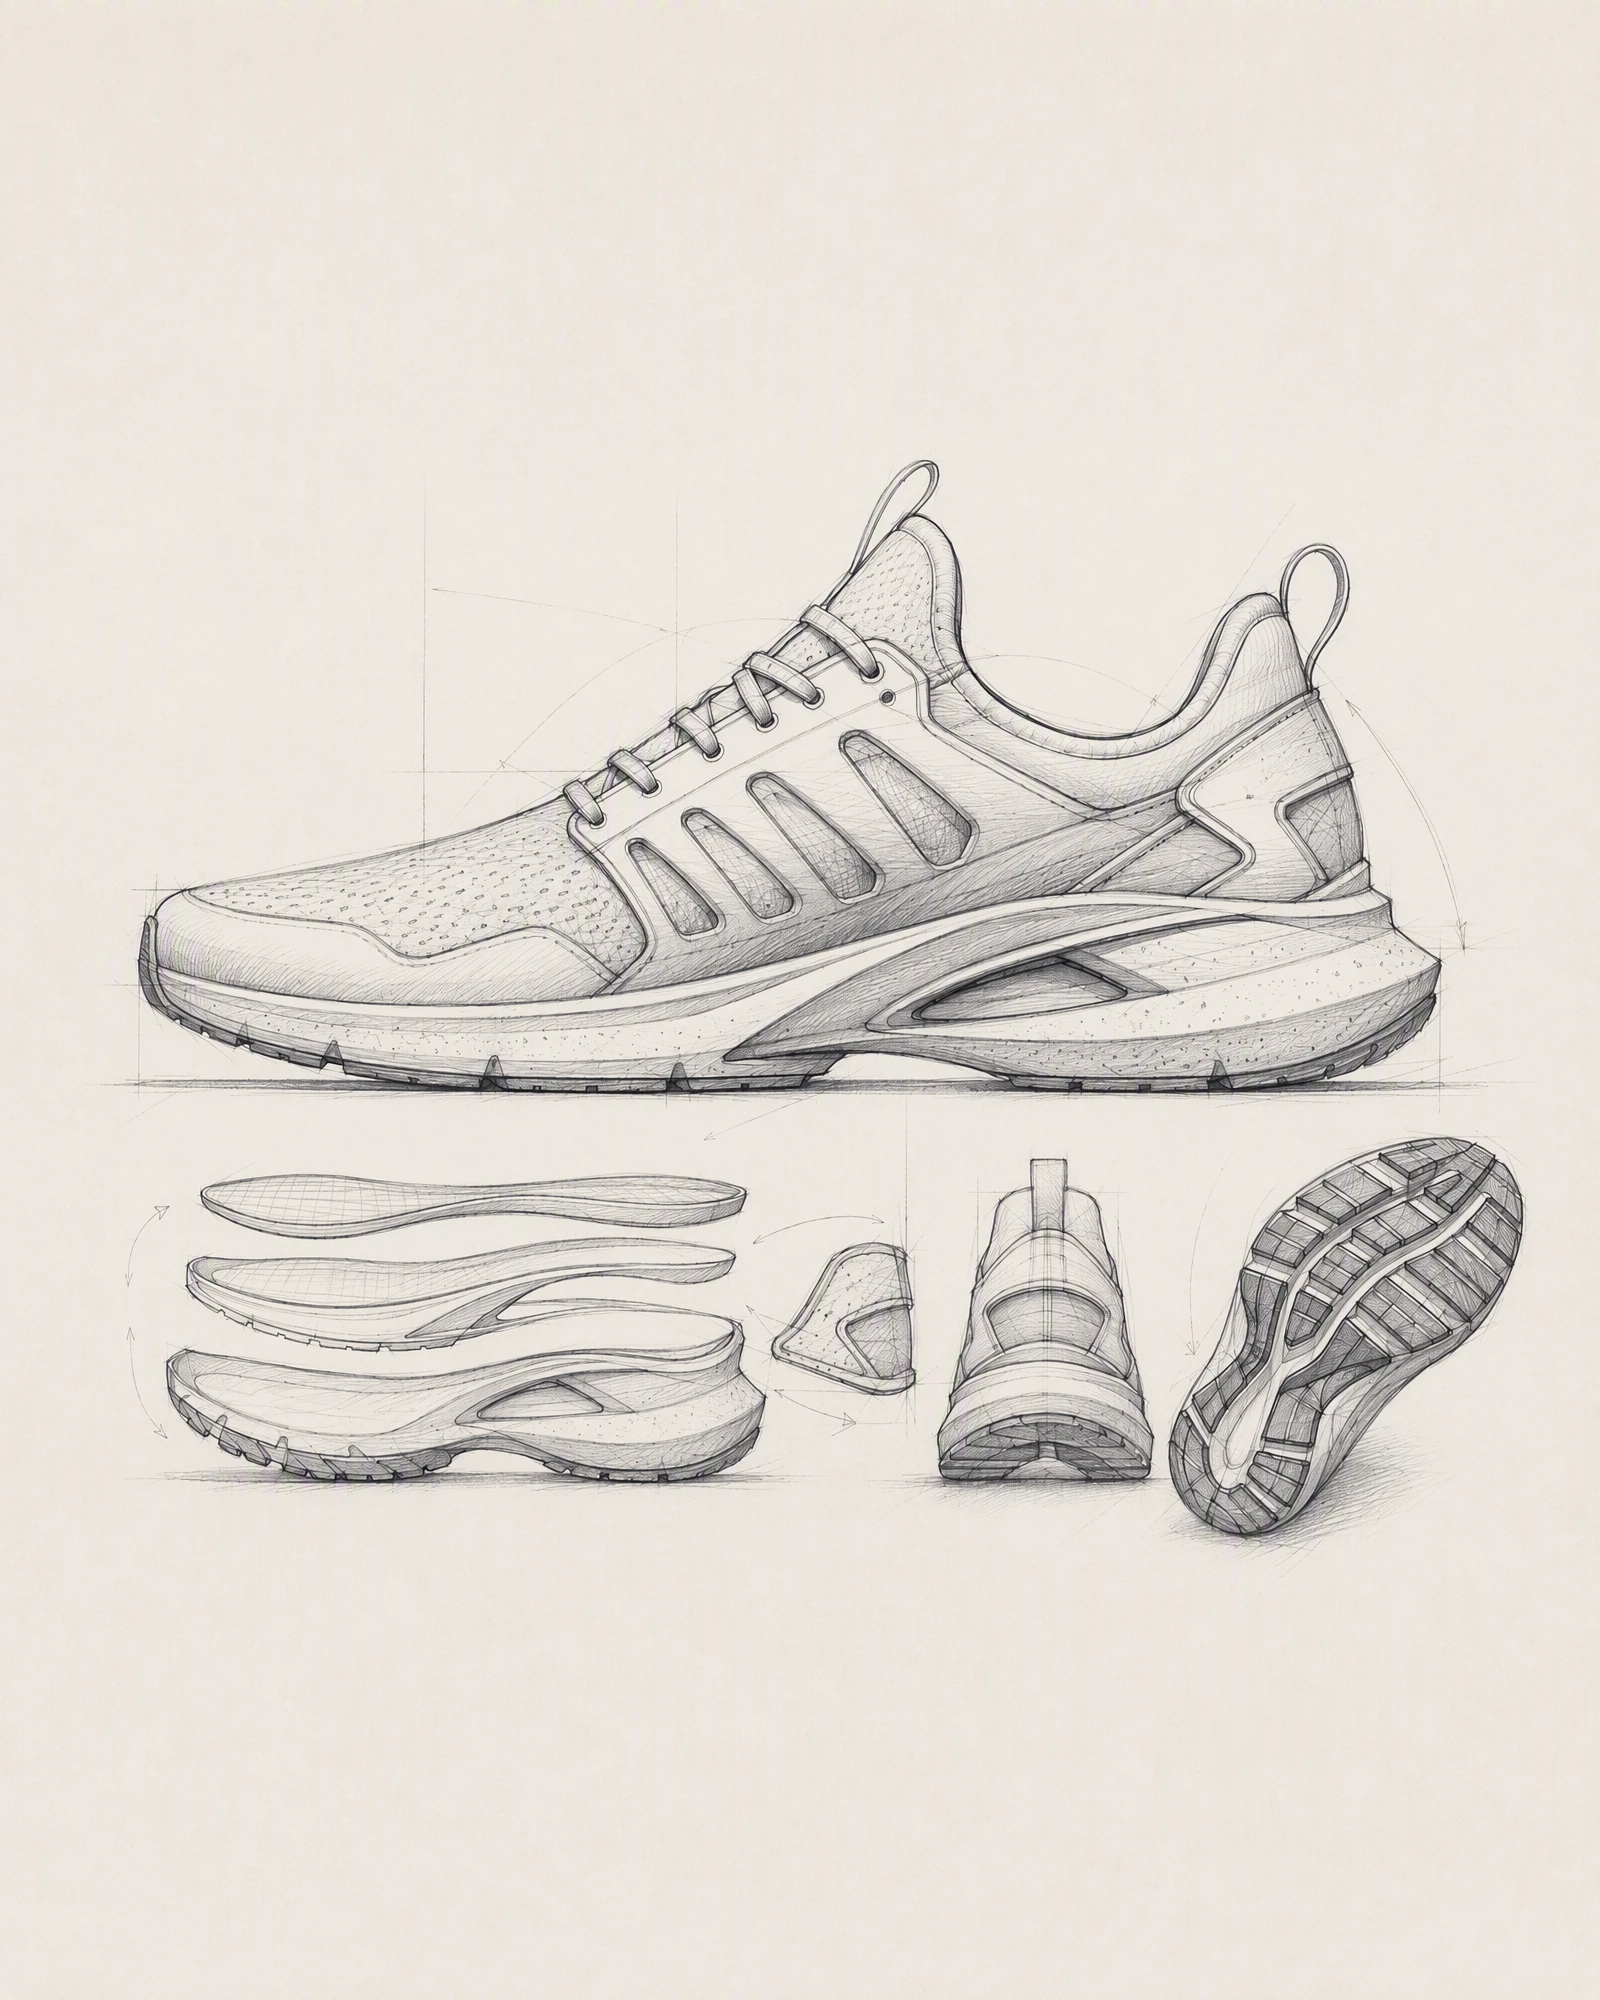
Pencil side-view sketch of an original sneaker with sole construction details
Draw the foot volume before the shoe surface
Start with the ground line, heel, toe, and a simple volume for the foot. Set the shoe's length, toe shape, heel height, and sole thickness before adding panels or decoration.
A side view clarifies profile; front and three-quarter views show width and how the upper wraps around the foot.
Use sketch lines to explain construction
Show where the upper meets the sole, how panels overlap, where the shoe flexes, and how laces, straps, or elastic secure it. An exploded visual can compare layers, but it should not be treated as a measured technical specification.
Line weight, simple shading, and color blocking can separate materials without filling the sketch with notes.
Develop one footwear idea across useful views
Keep the same toe, sole, panel rhythm, and material logic when moving from side to perspective views. Inconsistent views can make a polished page less informative than a rough but coherent sketch.
Choose an image for reference, download it free, or create another sketch direction with AI by changing the shoe type, silhouette, viewpoint, construction, or color blocking.
Frequently Asked Questions
Continue from Footwear Sketch to Design Direction
Make Every View Describe the Same Shoe
Keep the profile, sole, upper, and material logic consistent as the sketch develops.